Installing a synthetic acrylic sports court flooring requires careful planning, precise execution, and adherence to specific guidelines to ensure durability, performance, and safety. Whether you’re setting up a new court or renovating an existing one, proper installation is key to maximizing the benefits of this versatile sports surface.

Introduction
Synthetic acrylic sports court flooring is favored for its resilience, customization options, and suitability across various sports disciplines. The installation process involves several steps that must be meticulously followed to achieve optimal results.
Planning and Preparation
Before beginning the installation, thorough planning and preparation are essential to ensure smooth execution and long-lasting performance.
Site Assessment
- Evaluate the existing surface condition and ensure it meets the requirements for installing synthetic acrylic flooring.
- Consider factors such as drainage, subfloor stability, and environmental conditions.
Design and Layout
- Create a detailed layout plan that includes court dimensions, markings, and any specific design requirements.
- Consult with experts or manufacturers to customize the flooring according to the sport(s) to be played.
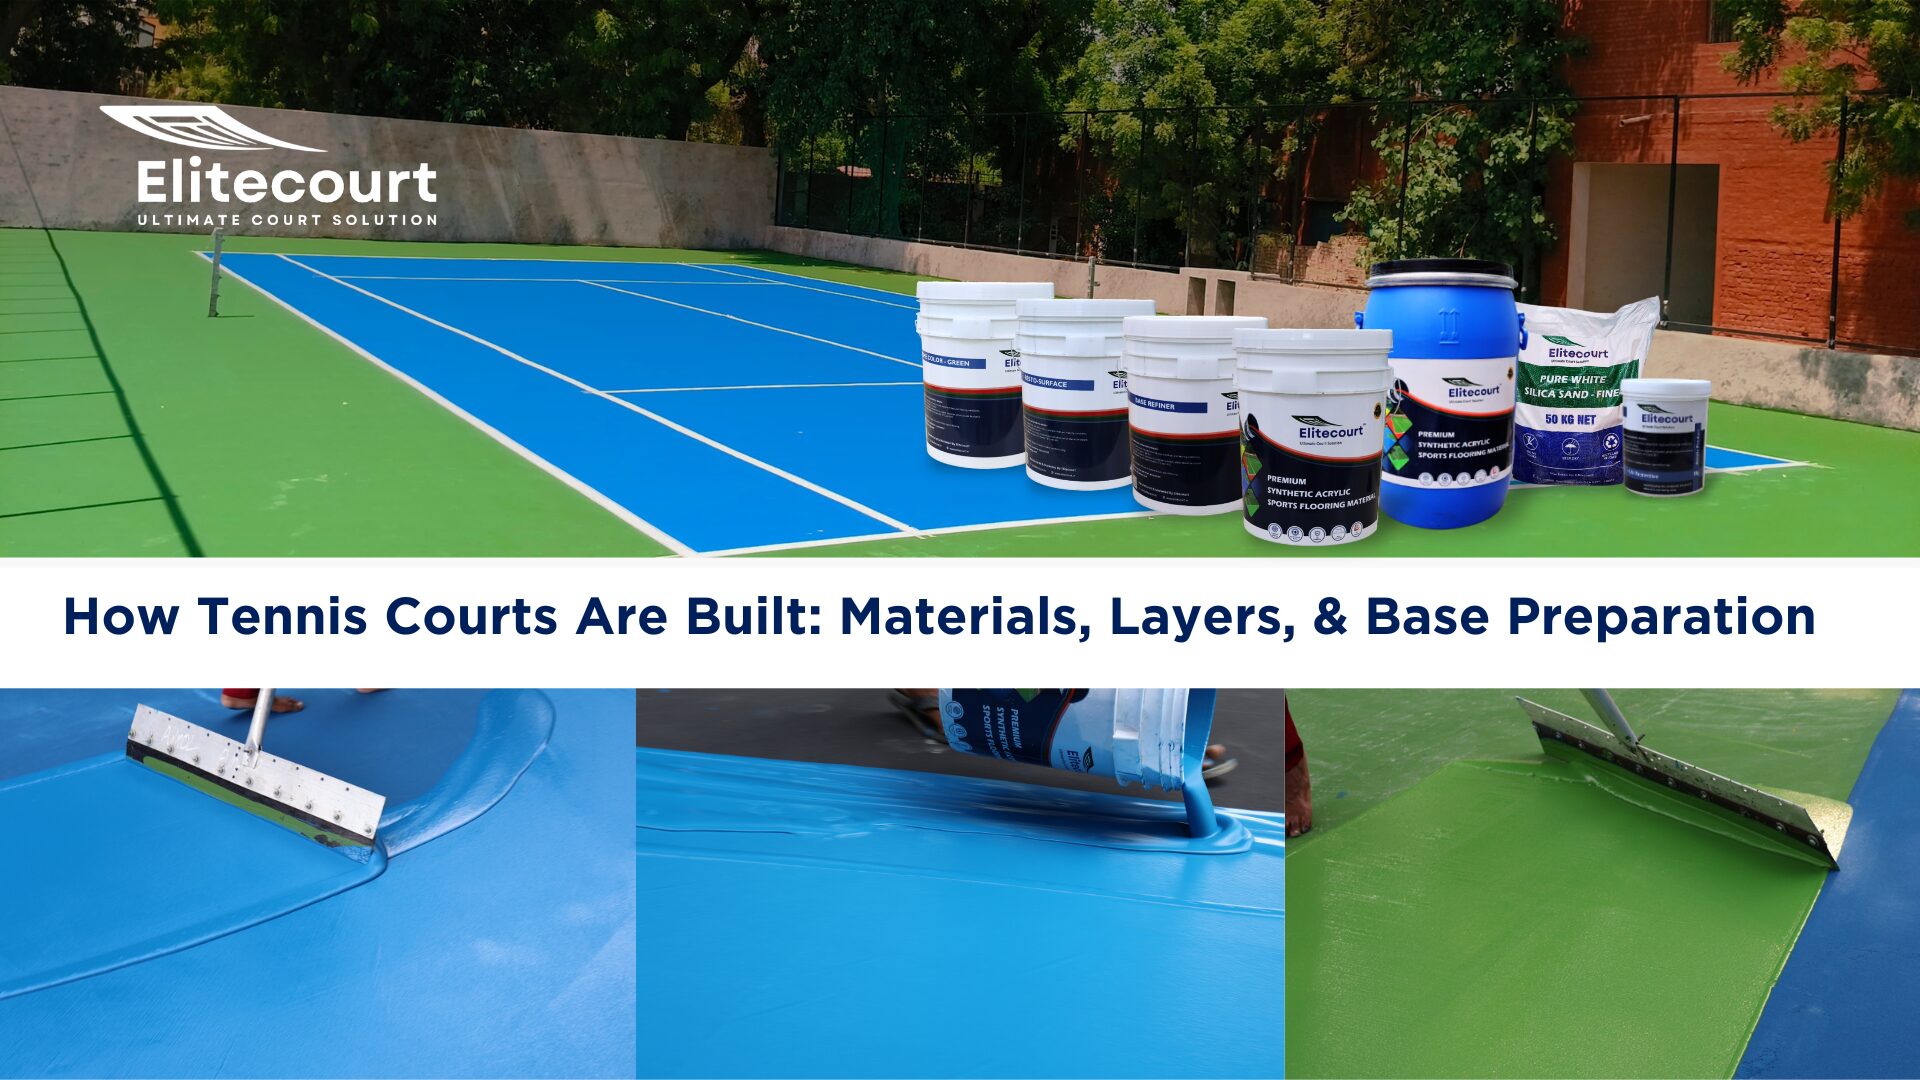
Materials and Tools
Gather all necessary materials and tools before starting the installation process to avoid delays and ensure efficiency.
Materials Needed:
- Synthetic acrylic flooring rolls or tiles
- Adhesive or glue suitable for sports flooring
- Primers and sealers
- Court marking tapes or stencils
- Cleaning and maintenance equipment
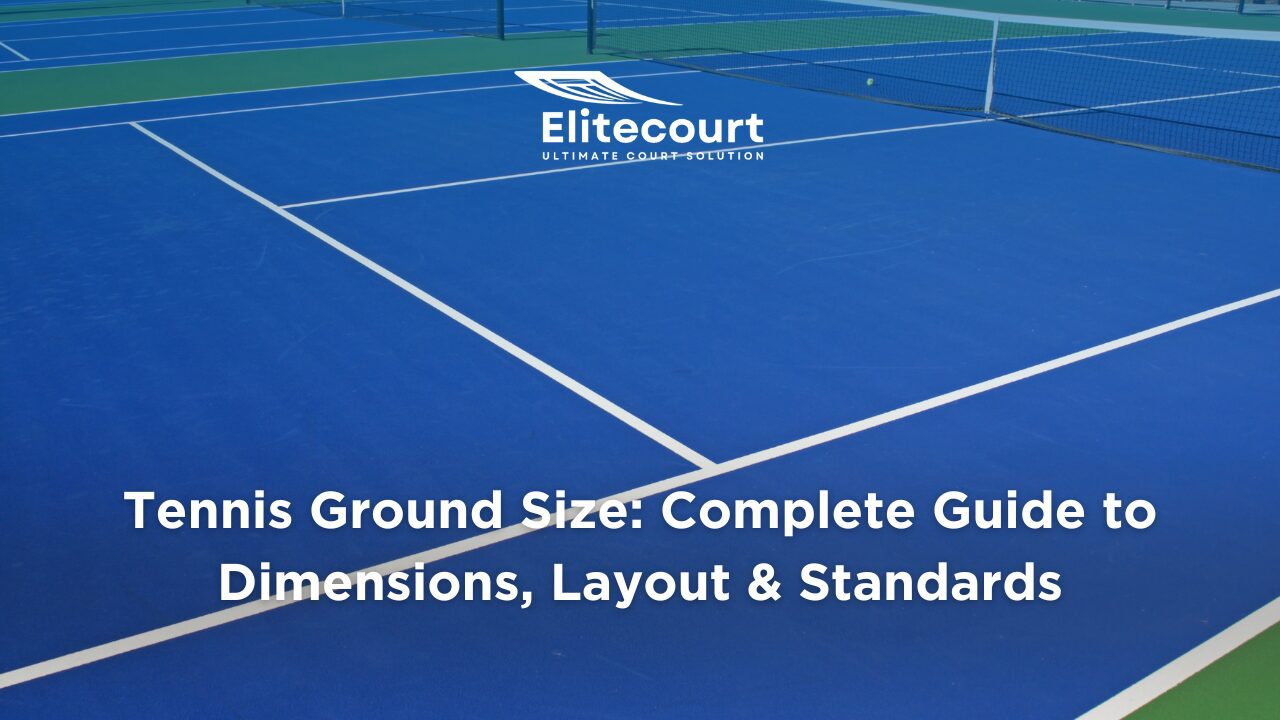
- Tennis Court Flooring
Tools Required:
- Measuring tape and chalk line
- Utility knife and scissors
- Trowels and rollers
- Leveling tools
- Safety gear (gloves, goggles, etc.)
Installation Steps
Follow these steps sequentially to install synthetic acrylic sports court flooring:
Step 1: Surface Preparation
- Clean and prepare the existing surface thoroughly, removing any debris, dust, or old flooring materials.
- Repair any cracks or imperfections in the subfloor and ensure it is level and smooth.
Step 2: Apply Primers and Sealers
- Apply a suitable primer to the prepared subfloor to enhance adhesion and create a barrier against moisture.
- Allow the primer to dry completely before proceeding with the next steps.
Step 3: Layout and Cutting
- Lay out the synthetic acrylic flooring rolls or tiles according to the approved design and court dimensions.
- Measure and cut the flooring material to fit around edges, corners, and obstacles using a utility knife or scissors.
Step 4: Adhesive Application
- Apply the recommended adhesive or glue evenly to the subfloor using a trowel or roller.
- Work in small sections to ensure the adhesive does not dry before laying down the flooring material.
Step 5: Flooring Installation
- Carefully place each piece of synthetic acrylic flooring onto the adhesive-coated subfloor, starting from one end and working towards the other.
- Press down firmly to ensure good adhesion and smooth out any air bubbles or wrinkles using a roller.
Step 6: Court Markings
- Once the flooring is securely in place, apply court markings using specialized tapes or stencils.
- Double-check measurements and alignment to ensure markings are accurate and comply with sports regulations.
Step 7: Allow for Curing
- Allow the installed flooring to cure according to manufacturer recommendations before allowing any foot traffic or sports activities.
- Maintain optimal environmental conditions (temperature, humidity) during the curing process.
Post-Installation Care and Maintenance
After installation, proper care and maintenance are crucial to prolonging the lifespan and performance of synthetic acrylic sports court flooring.
Regular Cleaning
- Implement a regular cleaning schedule using recommended cleaning agents and equipment to remove dirt, debris, and sweat buildup.
- Avoid harsh chemicals that could damage the flooring surface.
Periodic Inspections
- Conduct periodic inspections to identify any signs of wear, damage, or adhesive failure.
- Address repairs promptly to prevent further damage and maintain safety standards.
Surface Refurbishment
- Depending on usage and wear, consider periodic surface refurbishment or recoating to restore the appearance and performance of the flooring.
Conclusion
Installing synthetic acrylic sports court flooring involves meticulous planning, precise execution, and attention to detail. By following the steps outlined above and adhering to manufacturer guidelines, you can create a high-performance sports surface that enhances gameplay and safety for athletes.
FAQs
How long does it take to install synthetic acrylic sports court flooring?
The installation time varies based on factors such as court size, preparation needs, and weather conditions but typically ranges from a few days to a couple of weeks.
Can synthetic acrylic sports court flooring be installed outdoors?
Yes, synthetic acrylic flooring can be customized for outdoor use with features like UV resistance and weather durability.
What are the benefits of synthetic acrylic sports court flooring compared to other types?
Synthetic acrylic flooring offers benefits such as durability, customization options, and excellent performance characteristics like shock absorption and ball bounce.
Is professional installation necessary for synthetic acrylic sports court flooring?
Yes, professional installation is recommended to ensure proper adhesion, alignment of court markings, and adherence to safety standards.
How often should synthetic acrylic sports court flooring be replaced?
With proper care and maintenance, synthetic acrylic flooring can last for many years. Replacement timing depends on factors like usage intensity and environmental conditions.